# Push Notifications
Key to the SDK's functionality is its push notification capability. Here, you'll discover how to seamlessly implement this feature, from setup to handling incoming notifications.
# Create a Private Key
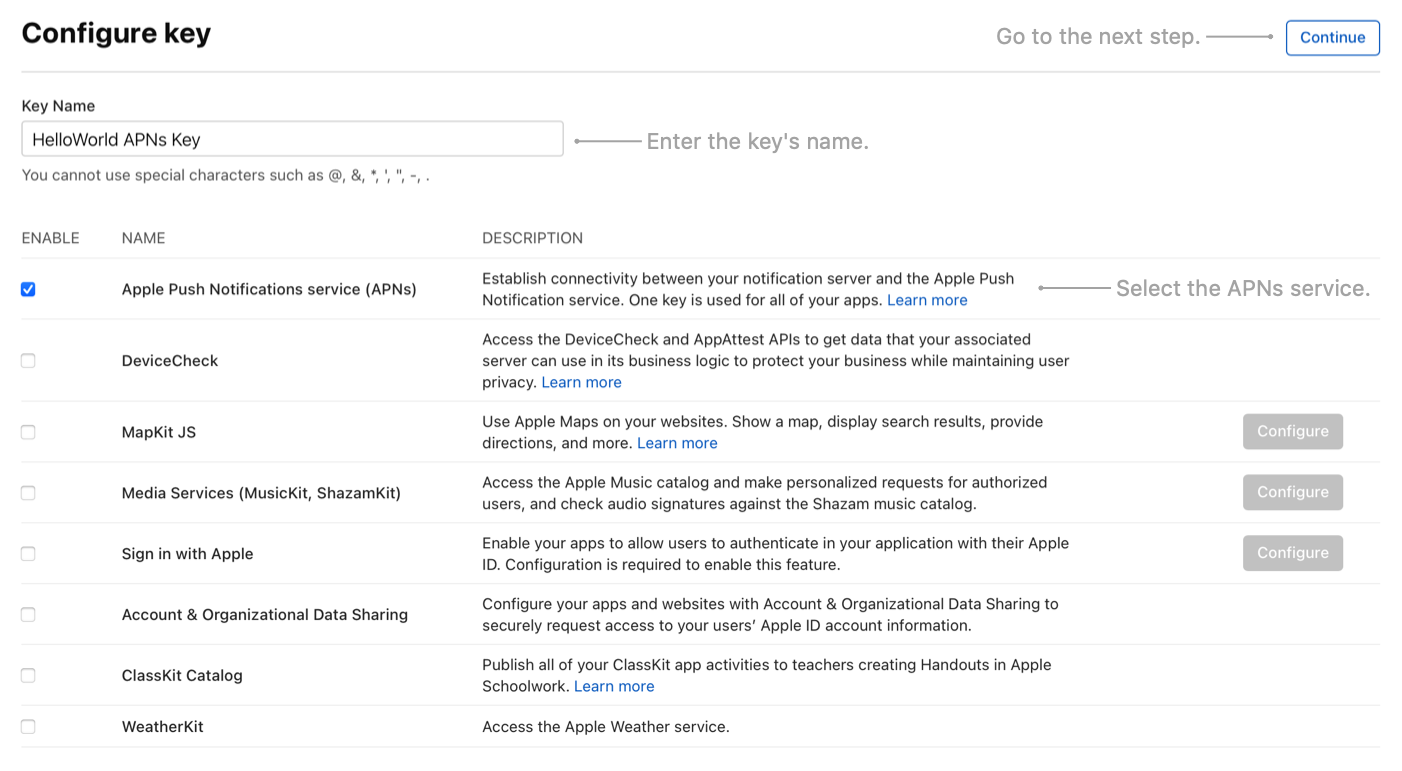
First, you need to create a private key with Apple Push Notifications service (APNs) enabled. You can do so following these (opens new window) steps. You can also use an existing key if you have one.
# Setup in Smartsupp Dashboard
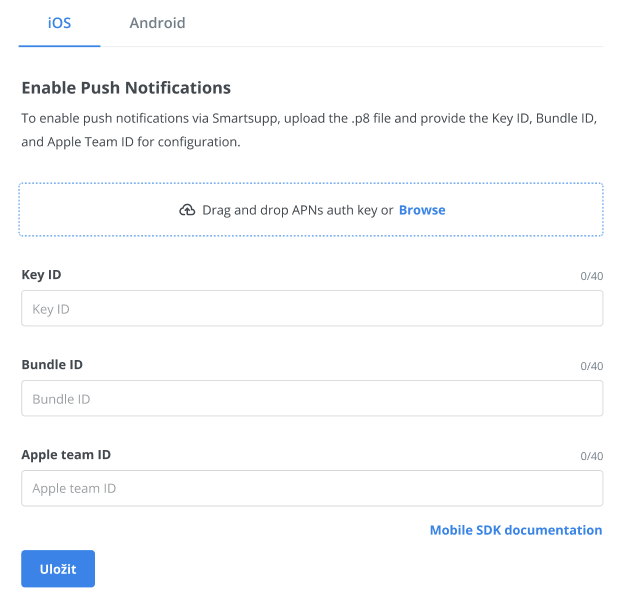
Once you have a private key, you need to upload it to your Smartsupp account. Go to Settings -> Integrations -> Smartsupp Mobile SDK -> iOS where you can upload the .p8 file from the previous step. You also need to provide the Key ID, Bundle ID of your app and your Team ID.
# Project Setup
In order to receive push notifications, make sure that you:
- Add
Push Notificationsto theCapabilitiesin the project settings of your app. - Call
application.registerForRemoteNotifications()in order to receive a device token. - Request permission (opens new window) to send push notifications to your app
# Device Token
When your app receives a device token in the AppDelegate, pass it to the Smartsupp SDK:
func application(_ application: UIApplication, didRegisterForRemoteNotificationsWithDeviceToken deviceToken: Data) {
    Smartsupp.updateDeviceToken(deviceToken)
}
AppDelegate in SwiftUI app
If your app is written in SwiftUI and you don't have an AppDelegate, you can follow this tutorial (opens new window) on how to implement it.
# Handle Push Notifications
When the user taps on the notification, Smartsupp will open the widget in your app. Simply add this code to the userNotificationCenter(_:didReceive:withCompletionHandler:) method of UNUserNotificationCenterDelegate:
func userNotificationCenter(_ center: UNUserNotificationCenter, didReceive response: UNNotificationResponse, withCompletionHandler completionHandler: @escaping () -> Void) {
    if Smartsupp.handleNotification(response.notification) {
        completionHandler()
    } else {
        // Here you should handle all your other notifications that are not sent by Smartsupp

        completionHandler()
    }
}
# Push Notifications Visibility
Notifications are sent and displayed even when the widget is currently visible on the screen. If you want to show notifications only when the widget isn't visible, add this code to the userNotificationCenter(_:willPresent:withCompletionHandler:) method of UNUserNotificationCenterDelegate. When the notification is from Smartsupp, it will return a list of UNNotificationPresentationOptions. Otherwise, if the notification isn't from Smartsupp, you can decide how to handle it.
func userNotificationCenter(_ center: UNUserNotificationCenter, willPresent notification: UNNotification, withCompletionHandler completionHandler: @escaping (UNNotificationPresentationOptions) -> Void) {
    if let options = Smartsupp.presentationOptions(forNotification: notification) {
        completionHandler(options)
    } else {
        // Here you can handle the visibility of all your other notifications that are not sent by Smartsupp

        completionHandler([.badge, .banner, .list, .sound])
    }
}